How-to · Milk Frothers
How to Make Coffee Art with a Milk Frother
 By Laura Benning · Updated · How we pick
Yes, you can make coffee art with a milk frother. Froth cold milk until it turns into smooth, glossy foam, pour it slowly into brewed coffee, and move the pitcher to draw a heart or a rosetta. An electric frother with a latte art mode, like the LIFEGETTER, or a handheld whisk with speed control, like the Zulay Kitchen, gives you the foam to work with.
Brew the coffee
Make the coffee base before you froth the milk, so the foam goes onto a hot drink. Brew espresso or strong coffee and pour it into a wide cup, leaving room at the top for the foam. A wide cup gives the foam space to spread into a design, while a narrow mug crowds it. Keep the coffee hot while you froth, so the art holds its shape.
Froth the milk until it looks glossy
Pour cold milk into the frother. The Rafow froths 2.5oz to 4.5oz of milk, and the LIFEGETTER froths up to 160ml of foam, so match the amount to the drink you are making. Choose dense hot froth for a thick design or thin hot froth for a lighter pour. The Rafow heats the milk to 60ºC to 65ºC and switches off by itself, and the PARIS RHÔNE switches off when the milk or froth is ready. The foam is ready when it looks smooth and glossy and holds a soft peak.
Pour the foam in a slow stream
Hold the frother pitcher close to the cup and pour the foam in a slow, steady stream into the center of the coffee. Start high so the foam sinks under the surface, then lower the pitcher as the cup fills so the foam floats on top. Tilt the cup slightly toward you to widen the surface for the design. Stop pouring when the foam reaches the rim, and lift the pitcher straight up.
Draw the design with the pitcher
Move the pitcher side to side in small wiggles to lay down a rosetta, or pour a steady dot in the center and pull the pitcher through it in one line to make a heart. Keep the stream thin so the lines stay clear, and keep the pitcher moving so the foam does not pile up in one spot. If the design spreads too wide, pour the next one slower and closer to the surface.
Clean the frother after each use
Unplug the frother before you clean it. Rinse the inside with running water and wipe it dry with a soft cloth, or wipe the interior with a damp towel and keep water away from the bottom and exterior. The Zulay Kitchen frother is hand wash only. Let every part dry fully before the next use, and read the maker's manual for the model you own.
What you need
As an Amazon Associate I earn from qualifying purchases. Product details come from each Amazon listing; we do not test products in person.
-

Rafow 4 In 1 Electric Milk Frother Steamer
Its one-button operation picks dense hot froth, thin hot froth, heated milk or cold froth, and it switches off when the milk reaches 60ºC to 65ºC.
View on Amazon -

PARIS RHÔNE Electric Milk Steamer
It is ETL-listed with Strix temperature control, and it switches off when the milk or froth is ready.
View on Amazon -

LIFEGETTER Milk Frother and Steamer 6-in-1 Electric Automatic
Its 6-in-1 modes include 3 hot foam settings, latte art, cold foam and hot milk, and its LED display shows the temperature as it heats.
View on Amazon -
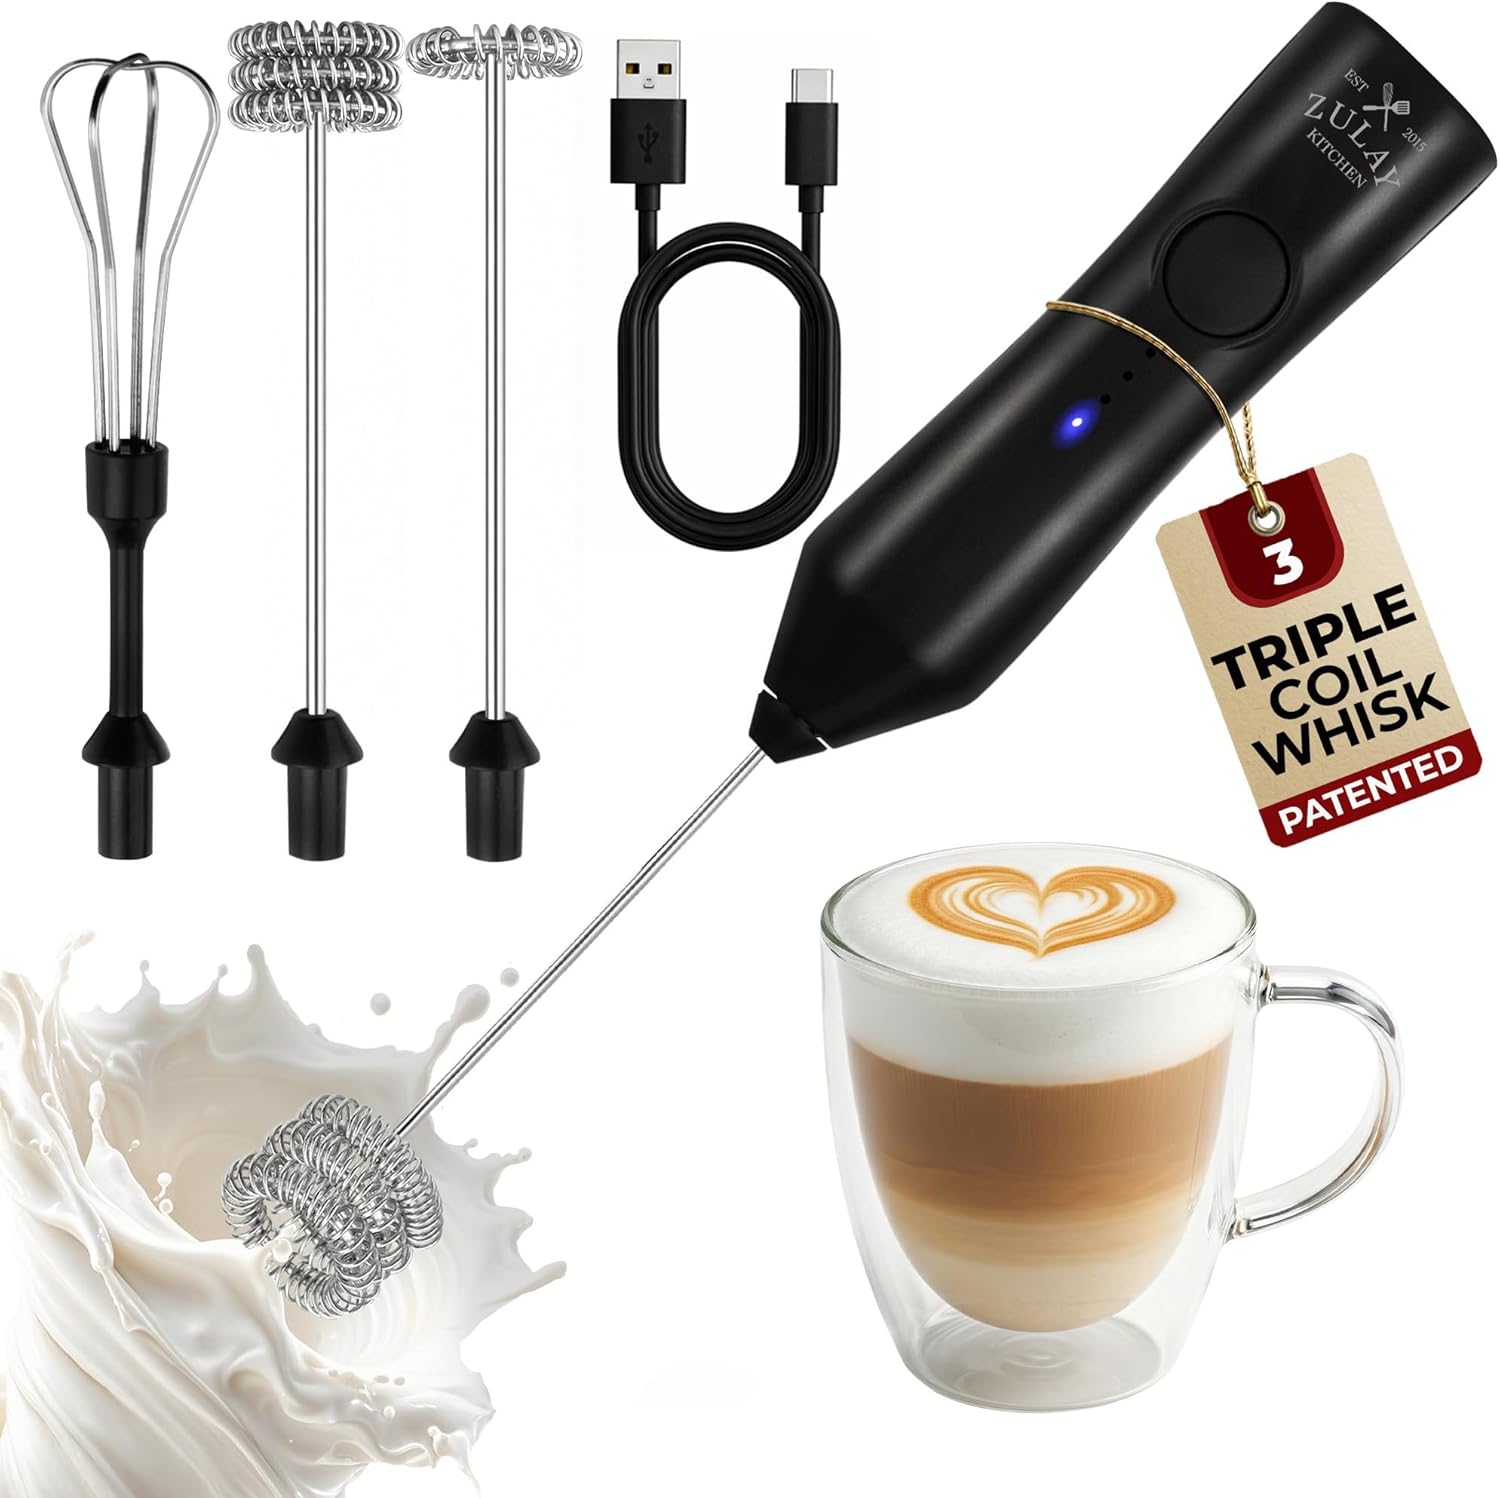
Zulay Kitchen Rechargeable Milk Frother Handheld
Its 3 speeds and 3 whisk attachments cover light froth, dense foam and blending, and its 500mAh battery charges over USB-C.
View on Amazon
These come from our ranked list Best Frother for Coffee, which compares them spec by spec.
FAQ
What milk should I use for coffee art?
Use whole milk with fat content over 3%. It froths into rich, stable foam, and cold milk straight from the fridge froths better than warm milk.
Can a handheld frother make latte art?
Yes. The Zulay Kitchen handheld frother has 3 speeds and 3 whisk attachments, so use the single coil whisk for light froth or the triple coil whisk for dense foam. Froth the milk in a tall cup, then pour it slowly into the coffee.
Why does my foam collapse before I pour it?
Foam collapses when the milk is too thin or the froth sits too long. Use whole milk with fat content over 3%, froth only the amount you need, and pour the foam into the coffee right after the frother switches off.
Do I need a special mode for latte art?
A latte art mode helps, but any dense hot froth works. The LIFEGETTER has a latte art mode among its 6-in-1 modes, and the Rafow makes dense hot froth with one-button operation.